Learning together
For grown-ups
How a lesson works
Every lesson goes: hunch, try it, find out why. Your child picks a hunch, plays until something surprises them, then reads why it happened.
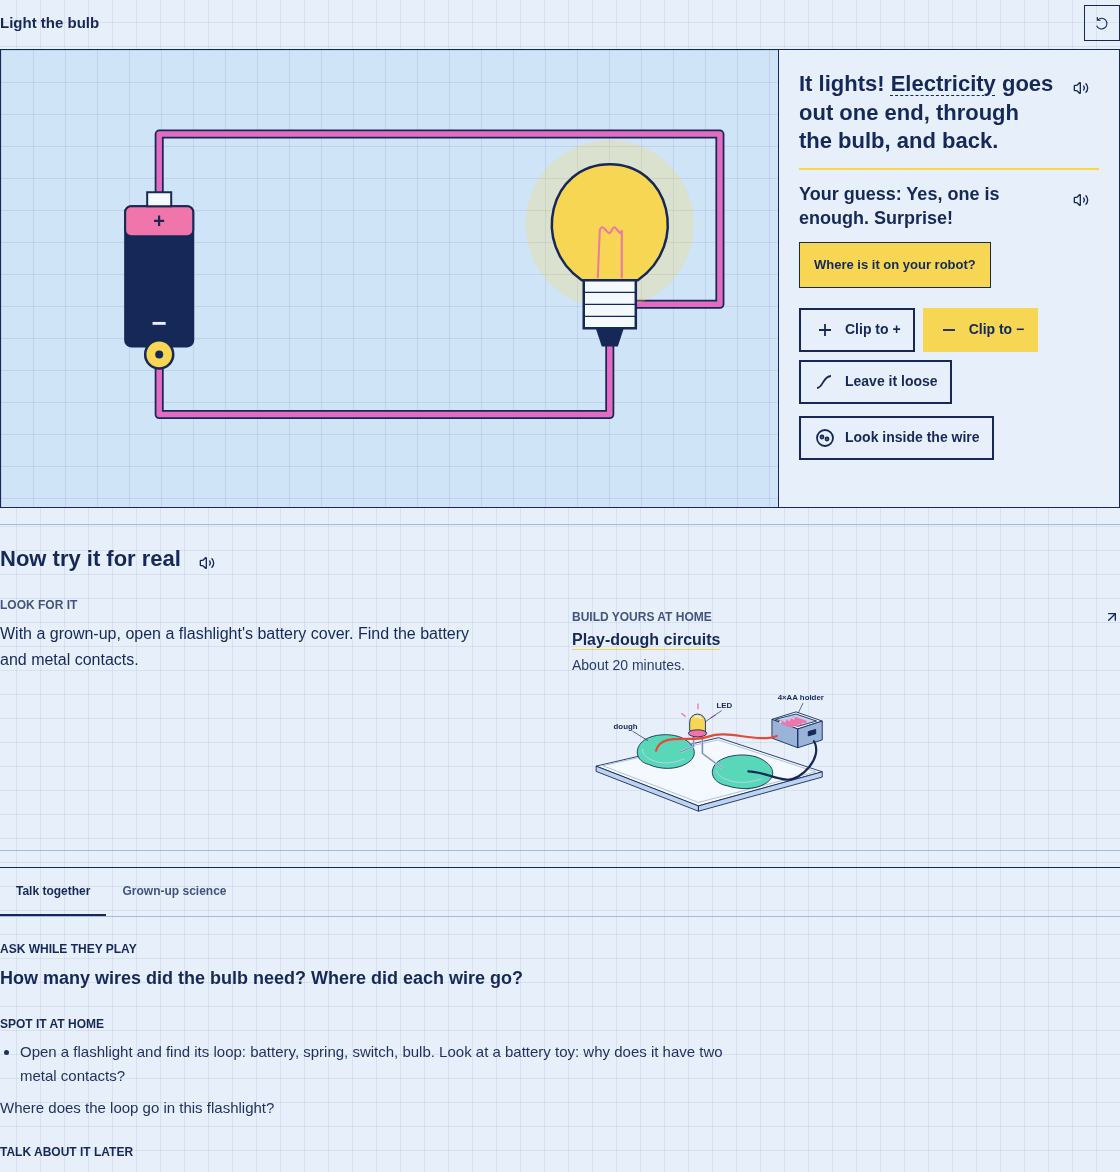
- 1
Start with their hunch
Before playing, let your child pick a hunch. Ask what they think will happen and why. Leave room for a surprise. The recap remembers their guess.
- 2
Let them try, then notice
Let your child tap the parts and test different choices. Point to what changed in the drawing. Read the result together, or press the speaker. At the recap, Where is it on your robot? opens the robot find.
- 3
Take the idea home
After the closing, look for the same idea at home. The Build Yours At Home row opens the real build, with parts and steps.
- 4
Keep the conversation going
Talk together gives questions and related ideas to spot at home. Grown-up science gives you the deeper explanation and common wrong ideas. Both tabs sit below the lesson.
How to read the drawings
flow
Yellow dots: electrons moving. If they stop, nothing is flowing.
small signal
Mint paths: a small signal tells another part what to do.
big power
Pink paths: the big power loop runs the light or motors.
magnet field
Blue rings: a magnet's pull.
a sensor's number
A number in a box: what the sensor notices.
a rule
A rule card or yellow line: the brain's check before acting.
How to talk about it
- 1.
Let them guess first, and don't correct the hunch. Ask: 'What do you think will happen? Why?'
- 2.
Ask questions you don't know the answer to: 'How did you know?' 'What would happen if…?' Then wait. Count to five in your head.
- 3.
After they try it, give a short 'because' in everyday words. A short reason helps, even if it's not the whole story.
- 4.
Point out the same idea at home that week, and bring it up again later. The talk afterwards is part of the learning.
- 5.
Explain to girls as much as to boys. In one museum study, parents explained science to boys about three times as often as to girls.
If your child worries about guessing wrong, tell them a wrong hunch is the most interesting kind: ask 'What surprised you?'
It's fine to say 'I don't know. Let's test it.'
Getting set up
What to buy
One shopping list for all the lessons. We reuse the same parts across builds, so a short supply list covers more than one project. Each guide lists the parts for that build.
- The Elegoo Mega starter kit. Most builds use its parts.
- AA battery holders with a switch: two 2×AA and one 4×AA. Search for 'AA battery holder with switch'. Plus 8 AA batteries.
- One tub of Play-Doh, for Level 1.
- Two yellow TT gear motors with wheels, for the Level 2 car.
- A small spool of thin insulated wire, about 16 feet (5 meters), for the bolt magnet.
- Two gears, one with twice as many teeth as the other (LEGO or 3D-printed), for Level 5.
- For Level 6: a Makeblock mBot (Bluetooth version) and a CR2025 coin battery for its remote.
- Everything else is in most homes: tape, cardboard, paper clips, a bolt, bottle caps, a jar lid, a paper plate, a pencil, string, a cup, coins and a sleep mask.
- Only the two extra experiments need a multimeter.
Every home build on one page
Each one shows the time, the parts and the lesson it goes with.
Breadboard in one minute
- Each short row of five holes is joined inside. Anything pushed into the same row is connected.
- The middle gap splits each row in two. The halves don't touch.
- The long lines down each edge are joined all the way along. Push the battery's red wire into the red (+) line and its black wire into the blue (−) line.
- LEDs only work one way round: the long leg goes toward +. Resistors work either way round.
- If a battery wire is floppy, twist its strands tight before pushing it in.
Want pictures of every step? SparkFun's breadboard walkthrough is gentle and full of photos.
The Mega, first time only
- Download the free Arduino app (Arduino IDE) from arduino.cc. Arduino app
- Plug the Mega into the computer with its USB cable.
- In the app, choose Tools → Board → Arduino AVR Boards → Arduino Mega or Mega 2560.
- Choose Tools → Port, then the port that names the Mega.
- Paste the guide's sketch, then click Upload (the arrow). 'Done uploading' means it worked.
No port listed? Try another USB cable. Some cables only charge.
Stuck on a step? Arduino's own Mega page has the same setup with screenshots.
Curriculum sources: Marble Skill Taxonomy (adapted, CC BY-SA 4.0) · Marble Builder.
Based on research on parent–child science talk (Haden, 2010; Crowley et al., 2001).